Google Menu is a feature designed for business owners—mainly restaurants, cafés, and other food-related businesses—to showcase their offerings to customers. By providing a clear menu, your customers can quickly find a place that suits their needs, such as a restaurant with vegetarian options.
While Google Menu is a Google feature, Localistico can also publish your menu information on your business’s store pages.
Note: Menu is a premium feature and may not be included in your subscription. If you are interested, please contact your Customer Success Manager
How to add a menu manually in Localistico?
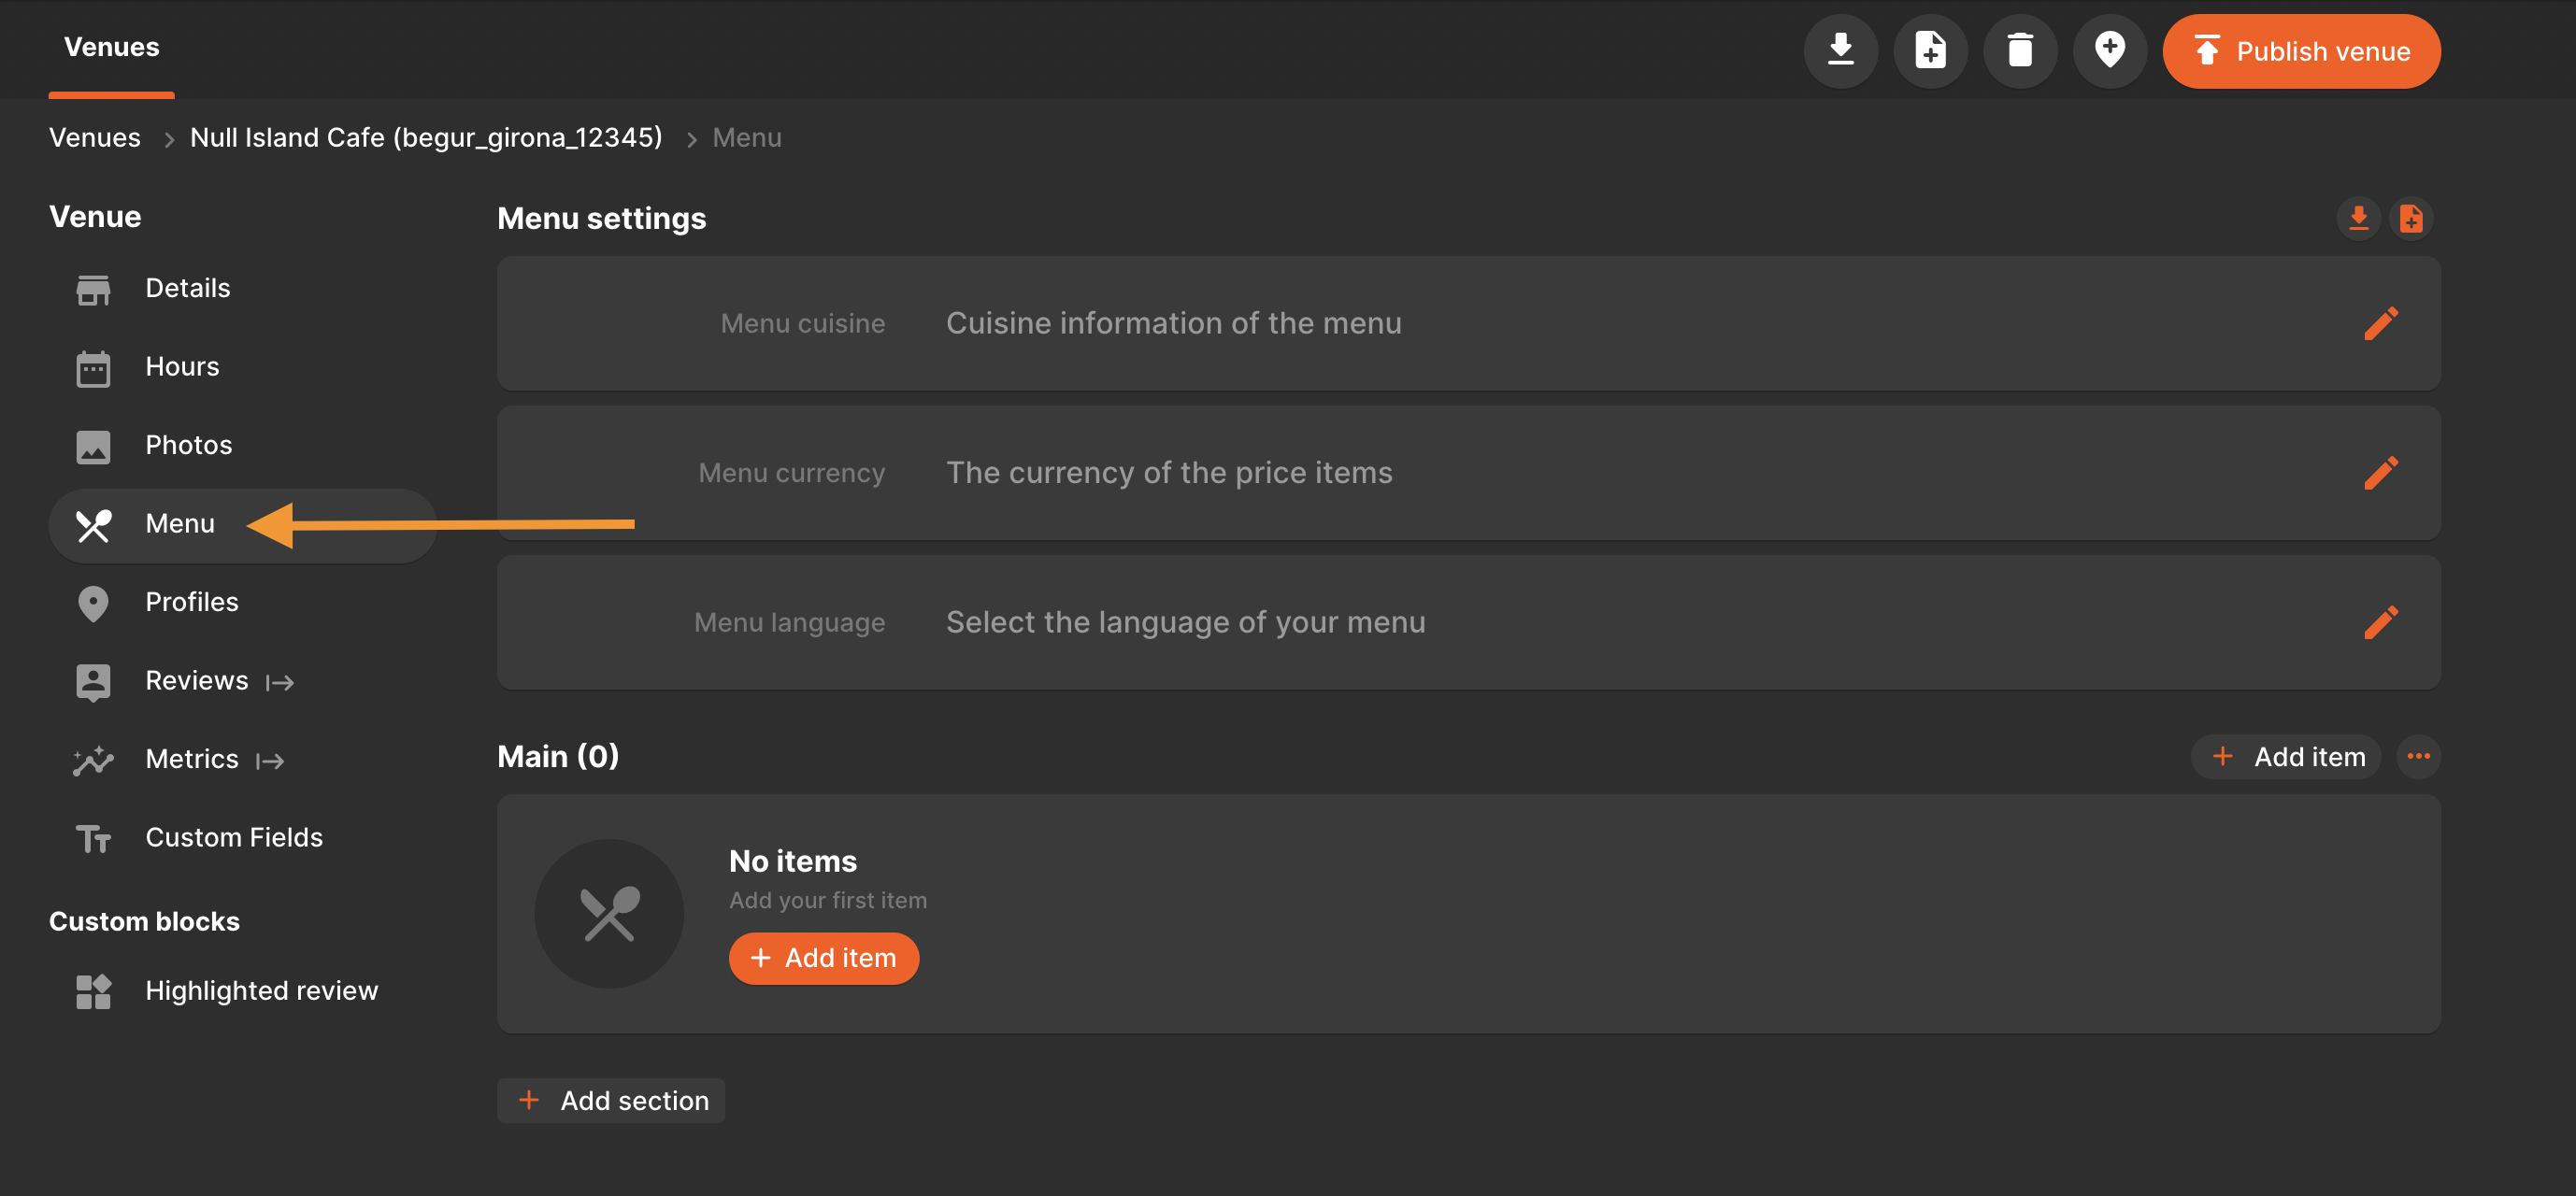
1. Once the menu section is enabled, navigate to the venue you want to edit and open the Menu section.
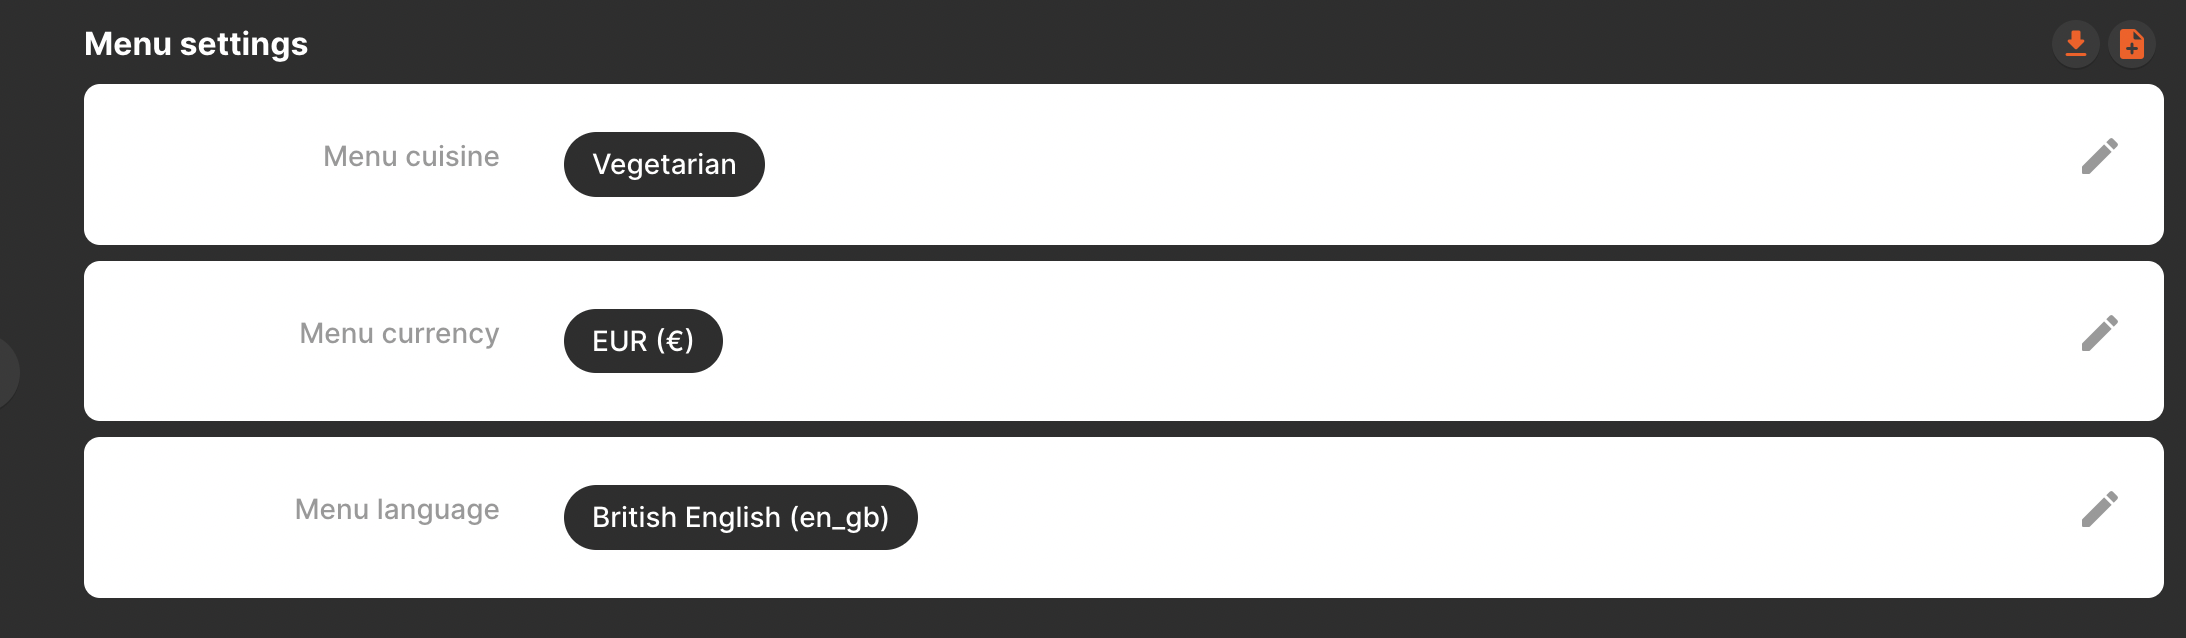
2. The menu settings define the basic information of the menu, such as:
- cuisine: select one of the predefined options of the dropdown list that Google supports
- currency: select EUR (€), GBP (£) or UDS ($)
- language: select one of the options from the dropdown list. If your language is not available, please let your Customer Success manager know.
3. Create your menu sections, such as Starters, Main Courses, Desserts and Drinks. You can add as many sections as you need.

You may edit the section names, change their order or delete them from here:

4. Once you have created at least one menu section, you can start adding menu items under each section.
- You may change the order of the items with the arrows
- Edit their details by clicking on the pen icon
- Delete the items not available by clicking on the bin icon.

You may add the following required information for each menu item:
- Name: Add the title of the menu item, e.g. Green Salad (Required field)
- Price: Indicate the individual price of the menu item (Required field)
- Description: Short summary to describe the item and the ingredients,
e.g. Green Salad – A fresh mix of lettuce, spinach, cucumber, green bell pepper, avocado, and green onions, served with a light vinaigrette. (Required field)
There are some optional fields that can be filled with information:
- Photo: JPEG or PNG, Min 10KBs Max 5120 KBs. (Optional field)
- Dietary restriction: Select one of the predefined options: Halal, Kosher, Organic, Vegan or Vegetarian. (Optional field)
Currently, the Google API allows adding the following optional fields, please note that they are not yet available on Google Business Profile and will not be visible until Google decides displaying them.
- Spiciness: Indicate if your meal is: Hot, Medium, Mild or Spiciness undefined. (not yet available on Google)
- Allergens: select one or several of the options: Dairy, Egg, Fish, Peanut, Shellfish, Soy, Tree nut, Wheat. (not yet available on Google)
- Calories: Add the calories of the menu item. (not yet available on Google)
- Serves: Indicate the number of people that can be served by this food dish. (not yet available on Google)
5. The menu information can be exported into CSV / or imported from here:

How to import the menu with a file for all locations?
If you would like to import the menu information for several or all your venues, please follow these steps:
1. Add a menu manually (as explained above in How to add a menu manually in Localistico?) for one venue, and then export it.
2. In the exported CSV, each row represents a menu item for a specific venue. To duplicate for other venues:
-
Duplicate the row/rows
-
Remove localistico_location_ID, location_code, and location_name
-
Replace location_code with the new venue code
3. Import the file into Localistico:
Import from a file → Import Custom Blocks → Import Menu → Import Settings: Remove & overwrite with new ones → Upload

Remember: After importing, publish your locations on Google and your store pages if the menu is included on both platforms.