Note: As of April 14, 2026, Apple Business Connect has been integrated into the unified Apple Business platform. If you previously had a Connect account, your data has been automatically migrated to business.apple.com.
Apple has transitioned its business services into a single, unified ecosystem: Apple Business. This platform replaces the standalone Apple Business Connect tool, merging branding features with operational support and device management.
Through our official partnership and API integration, Localistico allows brands to manage their presence at scale across the entire Apple ecosystem:
-
Publish Location Information: Sync data directly to Apple Business for display across Maps, Siri, and Spotlight.
-
Centralised Management: View your Apple Place Cards alongside other platforms in one dashboard.
-
Performance Metrics: Access key data including impressions, clicks, and action button engagement.
-
Ads Readiness: A verified account is required to access the upcoming Apple Maps Search Ads which are set to launch in the U.S. and Canada this summer, with Europe expected to follow shortly after.
Creating your Apple Business Account
In order to take advantage of Apple Business features—including Search Ads, Showcases, and Insights—brands need to create their own Apple Business account and delegate access to Localistico.
Step 1: Sign up for Apple Business
-
Go to business.apple.com.
-
Click "Register Now" if you don't have an account yet and follow the prompts to enter your organisation's legal information.
⚠️ Important: Once registered, you have 10 days to complete the verification of your organisation.
-
Enter and review the following Organisation Details:
-
Organisation Name: This is your legal entity name. (Note: This may be updated automatically once Apple verifies your legal status).
-
Website URL: While optional, providing your URL can significantly speed up the verification process.
-
Location and Address: Enter your official business address.
-
-
Go to Next and add the following personal and security information:
-
Administrative Contact: Enter the first and last name of the person registering on behalf of the organisation. Note: Use a legal name. Using titles like “IT Coordinator” or “Apple Deployment” will cause the system to reject the application.
- Choose your country or region.
- Set your password and complete the phone verification (SMS or Call).
-
Step 2: Verify your organisation
Once the account is set up, you have a 10-day window to verify your organisation with Apple. This process requires two different verification methods and can take up to five business days to be processed.
Verification Steps:
-
Log in to Apple Business.
-
In the sidebar, select Settings > Organisation.
-
Click the “Verify Now” button.
-
Choose your first verification method:
-
Business ID: Enter your D-U-N-S Number or your Tax ID (EIN/VAT/CIF).
-
Domain Validation: Add a TXT record to your website’s DNS server. This is often the fastest method if you have access to your web technical settings. You can find more information from here.
-
Official Documentation: Upload a digital copy (PDF or image) of one of the following:
-
Business License
-
Sales or Tax Permit
-
Health, Liquor, or Food safety license
-
Lease agreement or Property deed
-
Utility bill (Electricity, Water, etc.)
-
-
-
Repeat the process: You must select a second, different method to confirm your identity.
-
Once both methods are completed, select Submit for Review.
Best Practices
-
Data Consistency: Ensure the organisation name and address on your uploaded documents match the information entered in Step 1 exactly.
-
Verification Status: Localistico cannot begin publishing your locations or creating profiles until your organisation status shows as "Verified" in the Apple portal.
-
Monitor your Inbox: Apple may contact the person listed as the Administrative Contact to clarify details during the 5-day review period.
Step 3: Define your Brands and Locations
Apple Business uses a hierarchy: Organisation > Brands > Locations.
-
Create your Brand: Set your Brand Name exactly as it appears to customers (e.g., "Localistico"). Avoid adding legal suffixes like "Inc" or "Ltd" if they aren't part of the public brand.
-
Organise by Country: For companies operating in multiple countries, we recommend creating a separate Brand Profile for each country.
-
Note: If you manage locations in multiple countries, Localistico will help scale this, but at least one core business profile must be verified by Apple first. However, please note, that Localistico cannot create the profiles until ABC has verified the businesses and the publications will appear as failed. Once the businesses are verified, the failed publications will solve automatically.
-
For example in the graphic below Acme Inc. the company/organisation (step 1) has Better Bag businesses in the USA & GBR (step 2):

Step 4: Delegate Access to Localistico
Once your account is verified, you must authorise Localistico to manage your data (this is known as the Third-party Partner Access). Go to Apple Business and:
-
Log in to business.apple.com.
-
In the sidebar, click on Settings (bottom left).
-
Navigate to Integrations > Partner Access.
-
Click "Share Access" (or the + button).
-
Enter the Localistico Partner Organisation ID:
-
1491047055605284608
-
-
Assign Roles: Select the Brand Admin role to allow Localistico to manage photos, showcases, and location data.
-
Select Scope: Choose "All Brands" or select the specific brand profiles you want us to manage.
-
Click Invite.
Step 5: Enable OAuth Connection
-
Once you have delegated access to Localistico for all your businesses in Apple Business, please email support@localistico.com to enable OAuth connection.
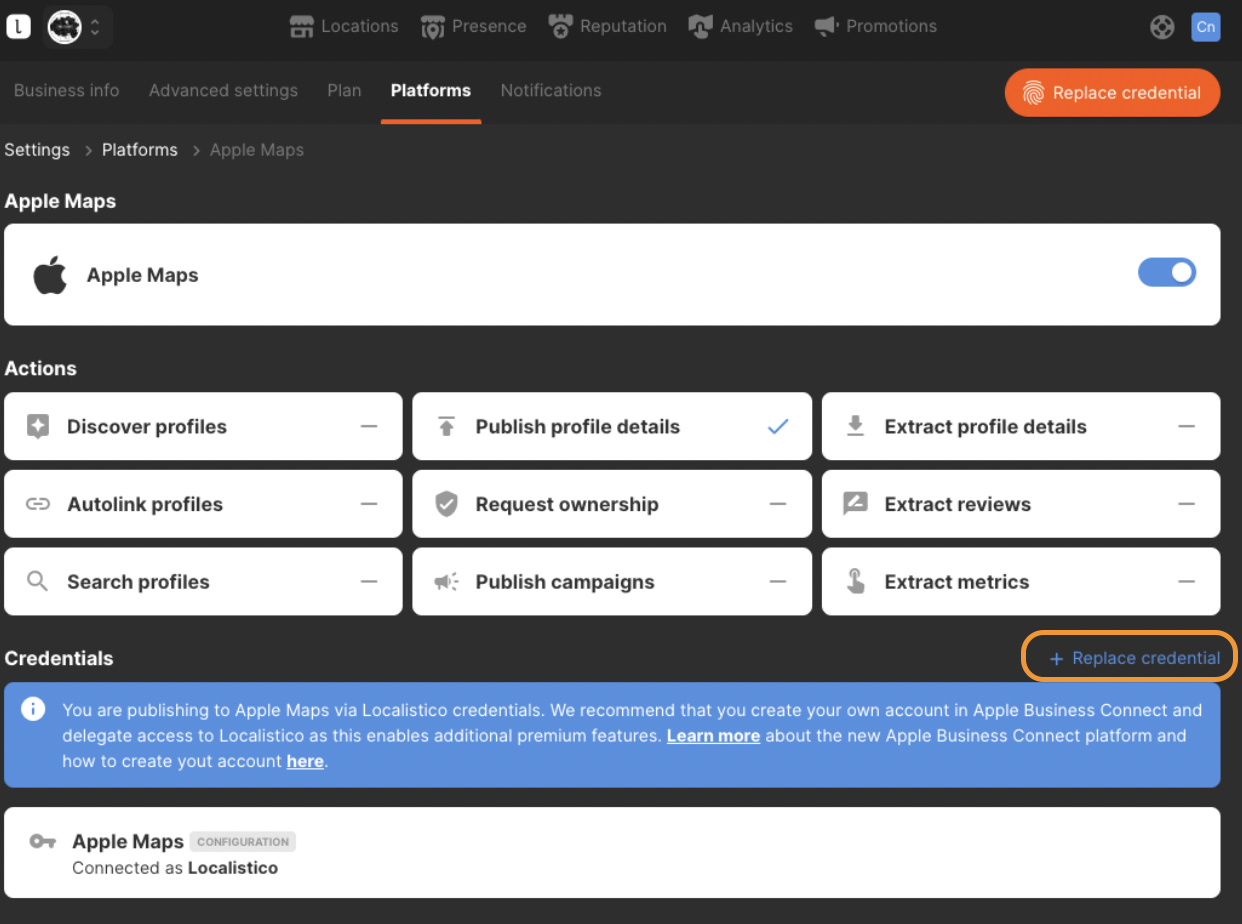
- Once OAuth connection is enabled, click on 'Replace Credential' in the credentials section as shown in the screenshot above and follow the steps.
Step 6: Final Sync
-
Wait for Synchronisation: It typically takes 1 hour for Apple to sync the credentials.
-
Avoid Manual Creation: Do not create location profiles manually in the Apple portal once the link is active; Localistico will generate them automatically to ensure data consistency.
-
Discovery: If you already have existing profiles in Apple, please ask support@localistico.com to run an "Account Discovery" before your first publication to prevent duplicates.