How to create roles and assign them to users?
Instructions on creating roles with limited permissions to manage only a subset of the functionalities.
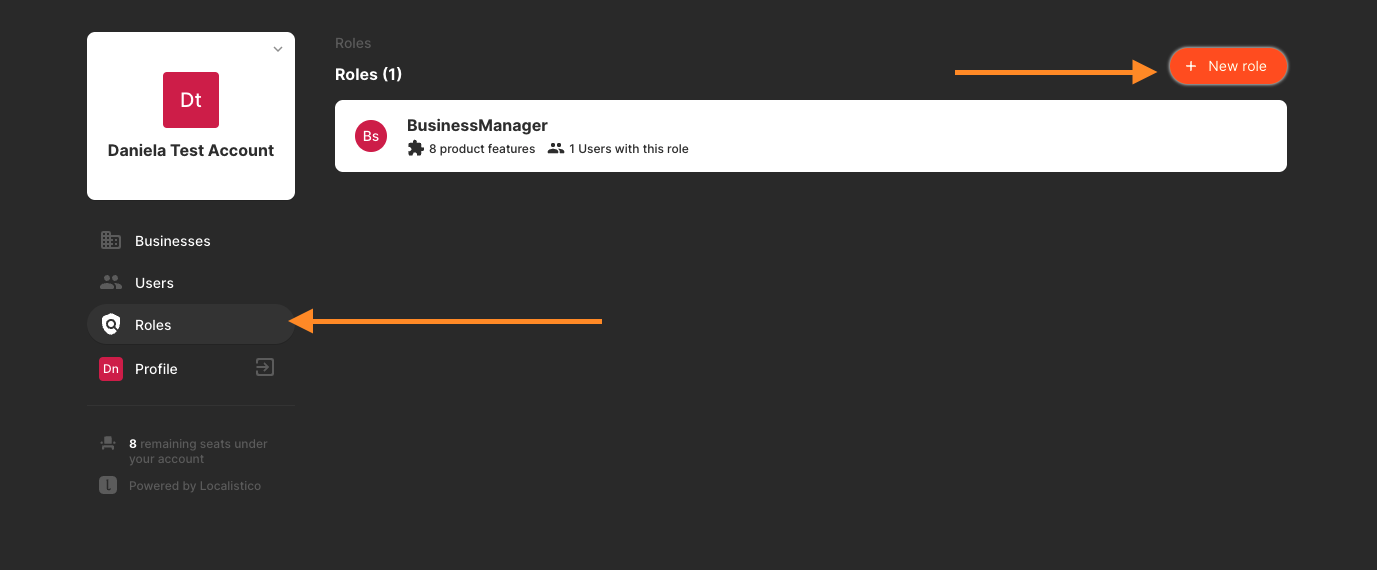
By creating roles, you may decide what each user can see and do in Localistico. Creating roles is quick and easy. Just navigate to the roles tab on Accounts Portal and click on + New role:

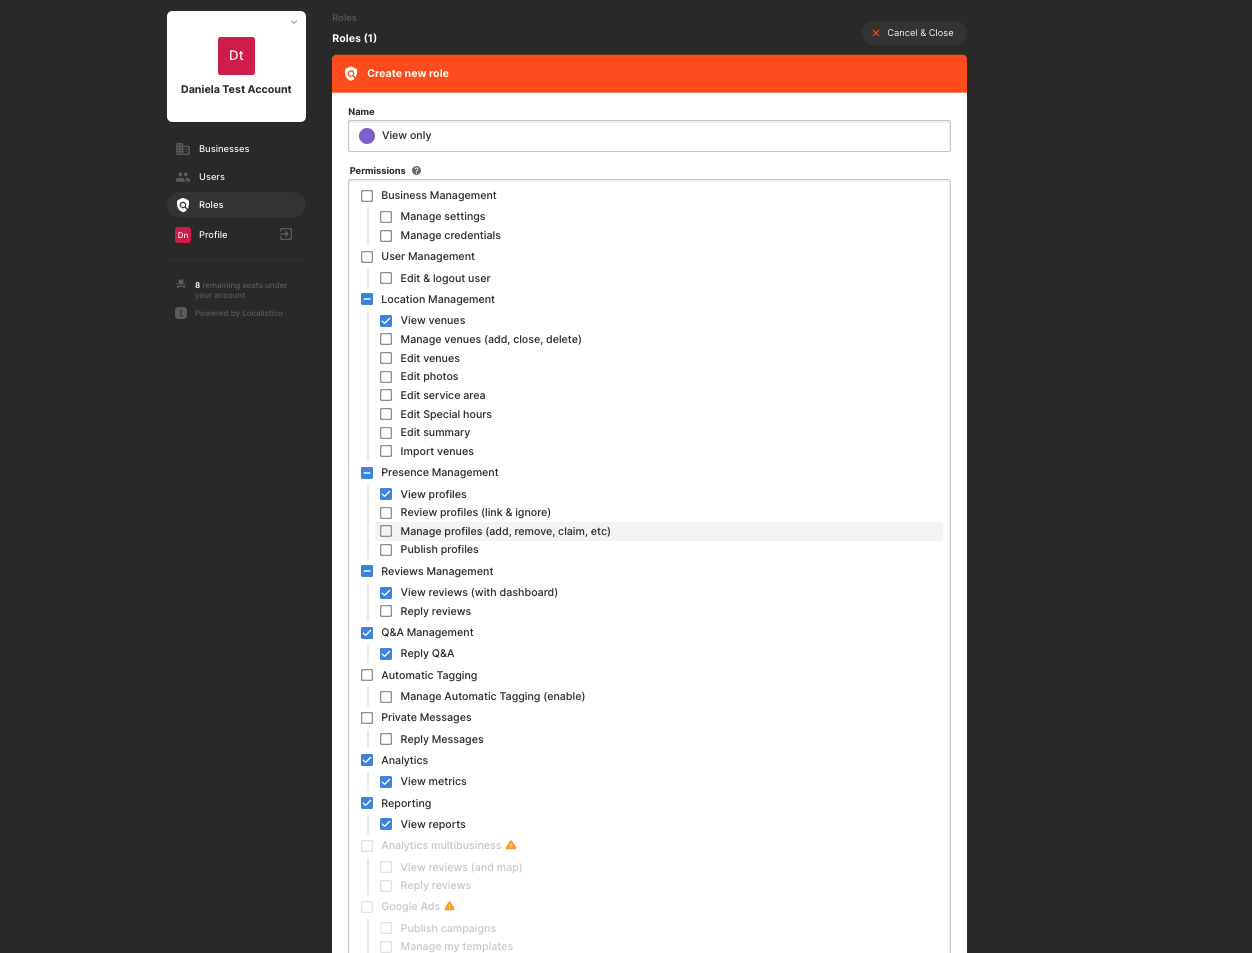
Select the permissions that user should have and click on save. In this example, the user can only view all pages, but cannot perform any actions. The permissions with the yellow triangle ![]() are functionalities the customer has not paid for and cannot be enabled for any users.
are functionalities the customer has not paid for and cannot be enabled for any users.

In this article, we explain what each role has access to do.
How to assign roles to users?
See this article to know how to assign the roles for new users. For existing users, follow these steps:
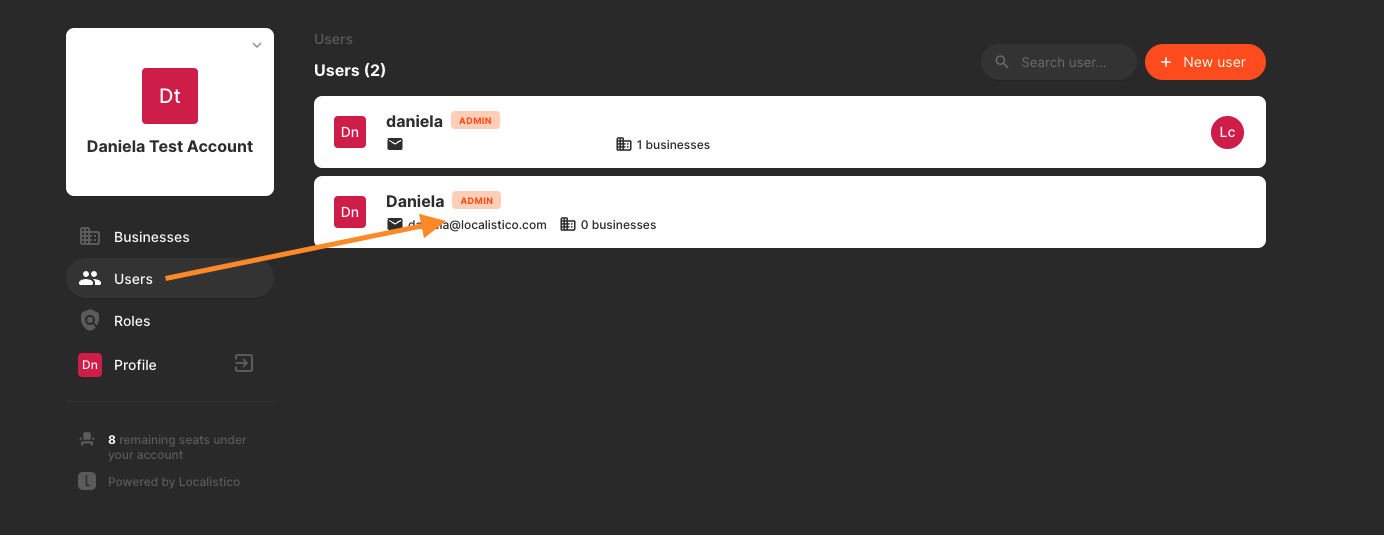
1. Navigate the users tab on Accounts Portal and select the user:

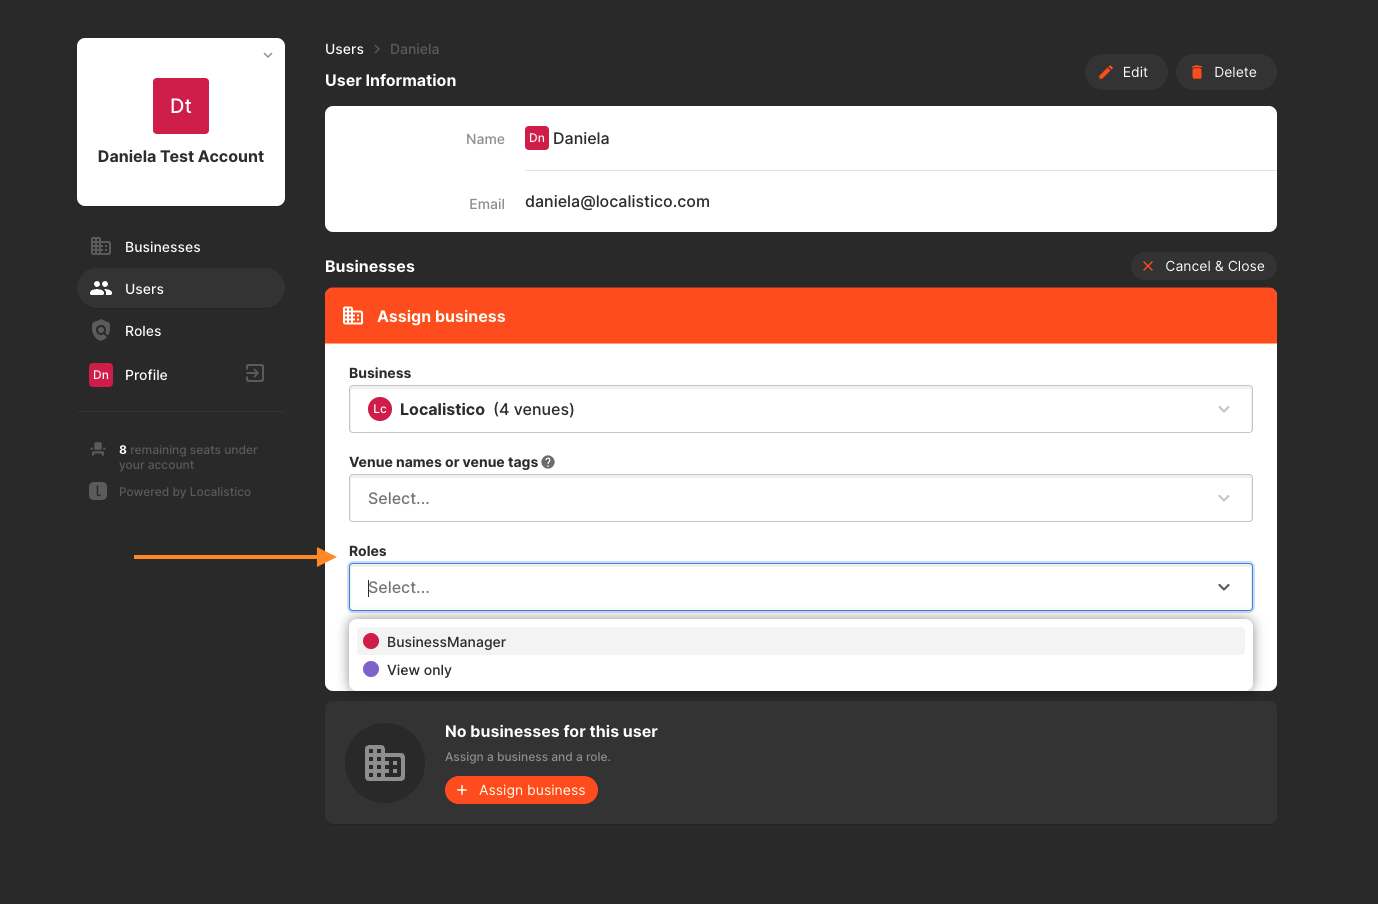
2. Select the role from the dropdown list and save:

You may also edit the existing roles on the roles tab and activate new functionalities for all users with that role in one go!