Uploading new locations one by one is time-consuming and leaves room for mistakes. Localistico enables you to work on the locations in an Excel file and then import them to Localistico.
How to import my locations in bulk
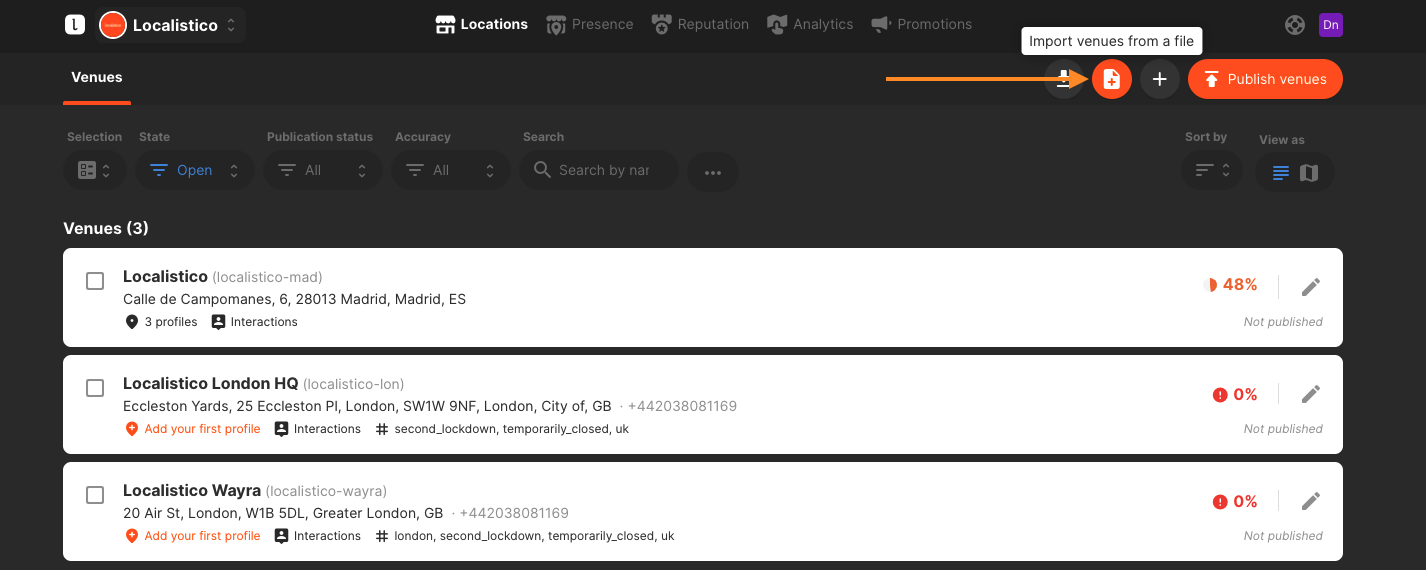
Go to the locations tab and click on import venues from a file -button:
If you are uploading the locations for the first time, download our template with the examples.

Open the template with Excel, Numbers or Spreadsheet and add the location information.

Download the ready file in CSV.

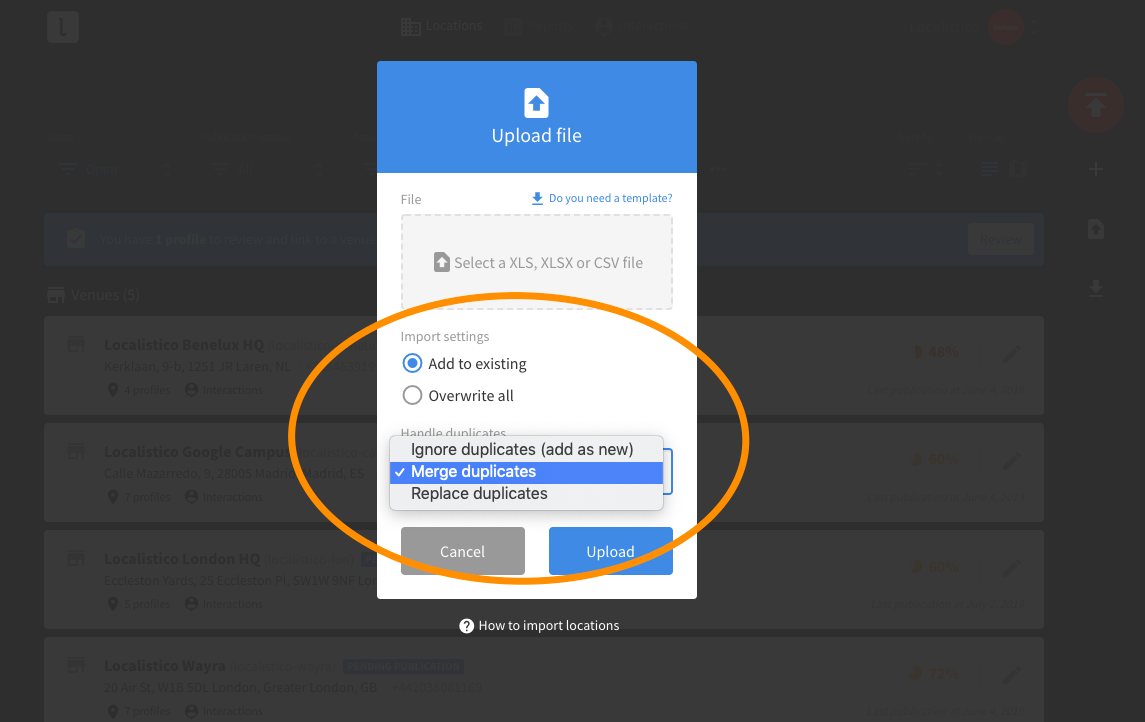
Then go back to Localistico and open the importer again. When selecting your file, you can also select how you wish your location data to be managed:
-
The option 'Add to existing' will add these new data to your existing data for the business. If there were already some data about your locations, the Localistico tool can detect for you whether there are duplicates. In this case, you can select the best choice for you from the "Handle duplicate" options appearing:
-
Merge: fill only the empty fields of a location in Localistico with data that comes in the CSV. In other words, if the website is empty in Localistico, it will be filled in with the CSV if it has one. However, if the field is filled, it doesn't do anything.
-
Replace: replaces all the details of the location by those that come from the CSV. As the name says, it replaces the old data with the new one.
-
-
As a counterpart, the option 'Overwrite all' will ignore any existing data in the Localistico tool about your locations and overwrite all of them for your business. Please select this choice in case you wish your new location data to override whatever data you had uploaded before.
After selecting the import settings, click on upload. Localistico created a plan where you can check that everything is correct.

If the process goes as expected, you will see a window with a success message and a summary of the actions completed.

However, if there are any issues detected, the Localistico tool will import all the locations which had no issues and generate a new file with the failed locations. The file includes a column with some suggestions about how you could fix these issues and upload the file again.

The correctly imported locations appear in the Venues tab in Localistico.
Localistico fields format
Before starting, have a look at the required fields and the formats.
Required headers (fields):
-
location_name: the name of your location (text)
-
street_address: the address of your location (text)
-
region: the region of your location (text)
-
phone: a full phone number with the internation code in a format "+XX", example: +44 12 3456 7890
-
locality: the locality of your location (text)
-
postcode: a valid postcode (text)
-
location_lat: the latitude of your location, example: 51.510591 (number)
-
location_lng: the longitude -0.1365597 of your location, example: 51.510591 (number)
-
country_code: the country code of your location (text, required only to create, can't be updated afterwards)
-
location_code: the store locator identifier of your location(text or number)
-
close: indicates if the location should be open or closed permanently or closed temporarily.
-
-
Add yes if the location is permanently closed
-
Add no if the location is open
-
Add temporarily if the location is temporarily closed
-
-
Other values apart from these two will be considered as the location shouldn't be closed.
-
Optional headers (fields) :
-
street_address_second_line: extended details about the address of your location (text)
-
neighbourhood: name of the neighbourhood, if applicable. Notice this may depend on the proper address format of each location's country (text)
-
summary: a description of your location (text)
-
short_summary: a short description of your location. This information is required only to some platforms (text, maximum 155 characters)
-
website: the website link to your location, example: http://localistico.com (text, should be a valid URL)
-
menu_url: the menu link to your location (text, should be a valid URL)
-
order_url: the order link of your location (text, should be a valid URL)
-
reservations_url: the reservations link to your location (text, should be a valid URL)
-
tags: a comma-separated list of tags. A tag can contain one or multiple words, and each one will be formatted to snake_case format. Example: "my tag, anothertag" generates two tags: my_tag and anothertag. If you wish to publish the tag on Google My Business, add [google] after the tag you would like to publish on Google My Business. Example: tagexample[google]
-
Example: tag1,tag2,tag3[google],tag4,tag5,tag6[google]
-
-
hours: the hours of your location in Localistico format:
-
Standard ranges of hours: Mon:09:00-17:00,18:00-20:00,21:00-23:00|Tue:09:00-17:00,18:00-20:00|Wed:09:00-17:00,18:00-20:00|Thu:09:00-17:00,18:00-20:00|Fri:09:00-17:00,18:00-20:00|Sat:Closed|Sun:Closed
-
24h example: Mon:00:00-00:00|Tue:00:00-00:00|Wed:00:00-00:00|Thu:00:00-00:00|Fri:00:00-00:00|Sat:Closed|Sun:Closed
-
-
special_hours: the special hours of your location in Localistico format
-
Single day:
-
2017-12-24:09:00-13:30,17:00-20:30
-
2017-12-24:Closed
-
2017-12-24:24h
-
-
Multiple days:
-
2017-12-24,2018-12-01:09:00-13:30,17:00-20:30
-
2017-12-24,2018-12-01:Closed
-
2017-12-24,2018-12-01:24h
-
-
Multiple special hours for the same location (use the | separator):
-
2017-12-23:24h|2017-12-24:Closed|2017-12-25,2018-12-01:09:00-13:30,17:00-20:30
-
-
-
more_hours indicate the hours for services such as take out (only available in Google My Business)
-
-
available_more_hours_types column indicates the types of more hours available for the venue. This depends on the Google primary category.
-
Set the hours in the column that has the correct type of More Hours and follow the correct format:
-
Mon:09:00-17:00|Tue:09:00-17:00|Wed:09:00-17:00|Thu:09:00-17:00|Fri:09:00-17:00|Sat:|Sun:
-
-
-
custom_fields: each custom field should start with the prefix "custom_field_" followed by the name of the custom field.
-
Example:
-
custom_field_store_manager (being the custom_field named as store_manager in Localistico)
-
-
Considerations
-
-
The phone number must always include the international country code in the format +XX. Failing to do so may result in the phone number not being published on Google. Because you can add phone numbers from any country to any venue, the international code is the only method to accurately identify which country's phone number is associated with the location.
-
custom_fields have to be added previously in Localistico.
-